

How To Build A Window Frame And Sill
Usually, people frame windows during the construction of a edifice. But if y'all want to renovate the house, you will take to identify a new window or one with a unlike size. Whatever the instance, a good frame secures the window and prevents it from leaks and cold air when closed.
Does your edifice take a brick wall? If yes, consider getting an expert to make a hole in it. During the framing project, ensure yous create a structure that offers a flat face for the drywall. Fix the adjacent pieces entirely with each other.
Knowing how to frame a window requires care and skill. Even if you lot can learn from a youtube how to frame a window video, this article volition serve equally a guide to out this project properly and hands.
What You lot Need to Know Nigh Window Frame
A window frame consists of the jambs, caput, and sill that create a perfect space for the window sash. You can as well draw it equally the outer perimeter of the window. Since this article doesn't concern vehicles, this setup does non include window regulators.
Yous tin can detect a window frame made from a combination of several materials or a single one. However, the nearly common ones include wood, fiberglass, aluminum, and vinyl.
You might consider enhancing the quality of the glass, peculiarly if you intend to insulate your domicile. You can also apply the same hack for the frame. That way, you cut down utility bills and bring great comfort to your home.
Tools and Materials Needed for Framing a Window
- Stud finder
- Hammer
- Measuring record
- Level
- Boom set up
- Reciprocating saw
- Combination square
- Apartment pry bar
- Drill with a screwdriver fleck
- Framing foursquare
- 16d and 10d nails or ii- and three-inch deck or woods
- Handsaw
- Stapler
- Staples
- Shims
- Plywood
How to Install a Window Frame
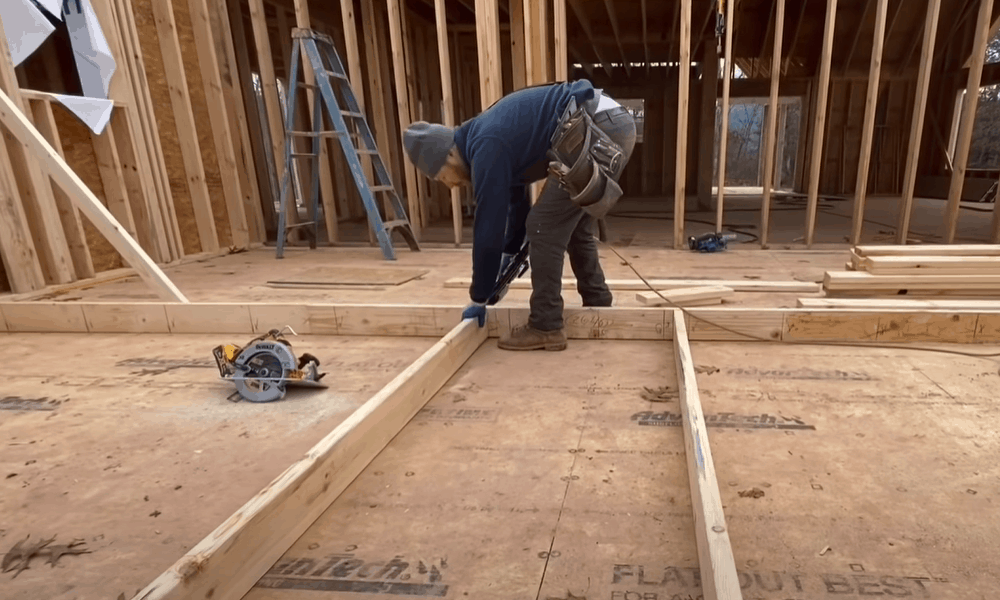
Step 1: Prepare the Working Surface area and Inspect the Studs
Before y'all offset framing a window, cover the floor with drop cloths, and block the doors to keep out the dust. You can also go on a fan on an adjoining window and face up it outside.
Now, move to studs and examine them. Here, you lot will use the electric current wall stud as the male monarch stud on ane terminate.
On the other side, a 2×2 or 2×iv cleats connect to some other stud and offer a surface for mending the drywall, especially after installing the window. Compared to cut the drywall through the eye of a stud and using one half of its thickness as a nailing surface, this comes every bit a tedious but straightforward option.
Step 2: Set the Studs
At this point, go a single new stud that has the same length as the other electric current ones. When you brand cuts on two cripple studs, the window sill drops on their heads.
Moreover, consider installing a jack stud on peak equally the sill will stay between it and the cripple stud. Now push button in a fastener – within every 12 inches – in a varying design.
Wedge, the king stud between the upper and bottom plates every bit this, will install a combination of the rex and cripple studs. If yous want to frame a cavity, caput to the back of the drywall, bulldoze the rex, cripple stud combo midway into it, and secure it with tilted 2-inch screws or 10d nails. Since this task might slightly change the position of the studs, use a stud get-go by 1/four inch.
Step 3: Make the Appropriate Markings
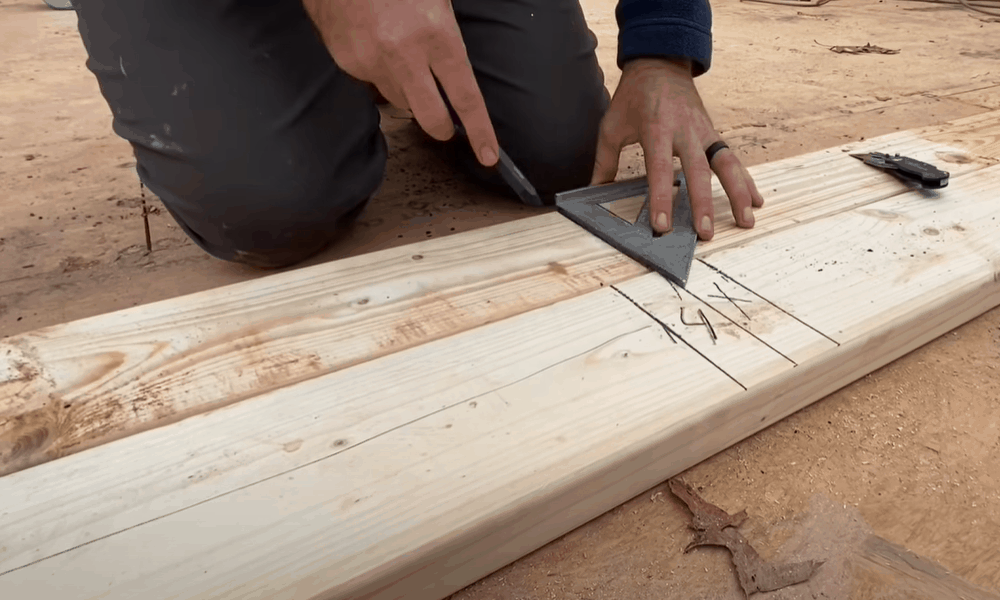
At the bottom plate, create a mark that shows the spot for the rex and jack studs. Ordinarily, the width of the rough opening shows the infinite between the jack studs.
Choose a level above the jack stud and identify a marker across the studs that will show the sole (bottom) of the header. Then, measure upwards and mark a spot for the elevation of the header
Yous should besides make another marker at a position effectually i/eight higher than this measurement. Follow upwards past making bottom cuts at effectually 1/8 from underneath.
Step 4: Mark the Middle Stud for Cutting
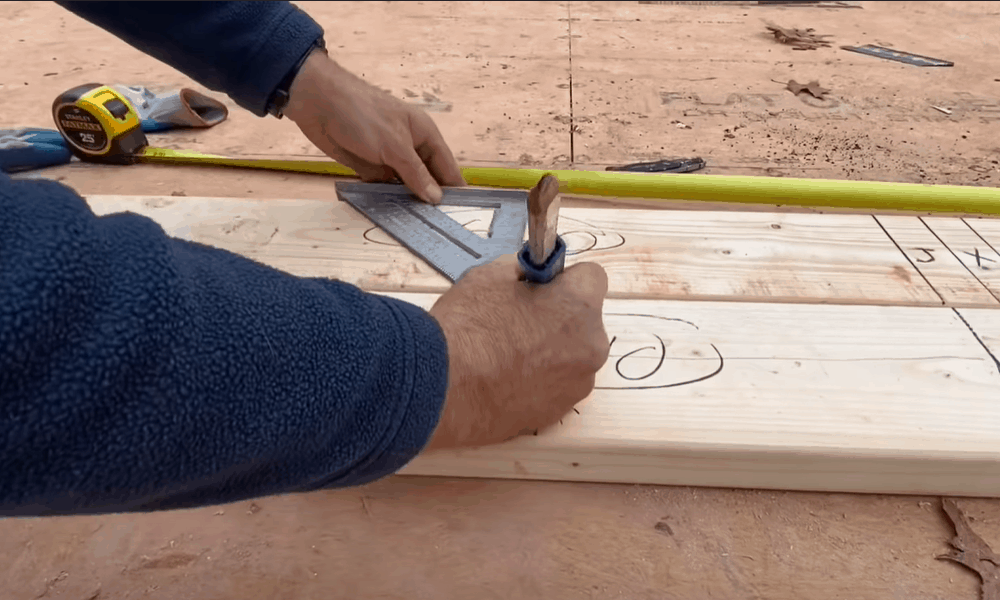
Furthermore, place markings on the eye stud that you will cut at the bottom. When marking them, use the required window framing crude opening size with an extra three inches (for double-bottomed plates) or 1 i/2 inches (for a single bottom page).
Take a square and make cut lines beyond each stud. Earlier creating these marks, gear up a temporary platform on the wall for this purpose.
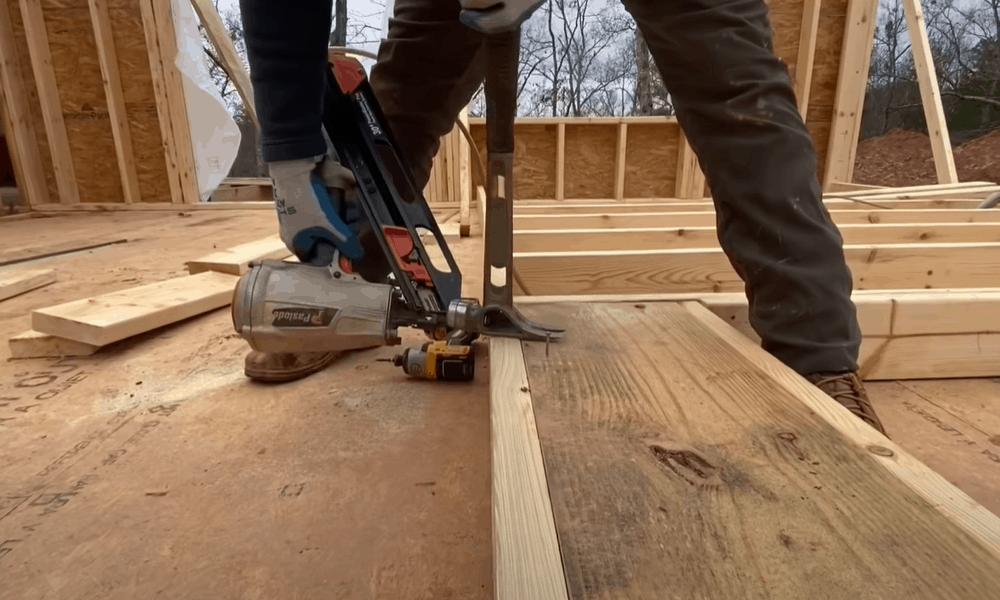
Step 5: Score the Lines

Bring out the circular saw and adapt it to full depth. Then confirm if the blade lies square with the base plate of the saw. To exam the tool, cut upwardly an unwanted piece.
When yous have reached this stage of learning how to frame effectually a window, utilize safe vesture, specially for your ears and eyes. Complete the cuts past working with a reciprocating or handsaw.
Pace vi: Build and Attach the Header
You tin can make the header by cutting ii pieces of ii × 6 or 2 x eight. These items should have the aforementioned size equally the width of the cavity while having an extra 3 inches. For spacers, build strips from 1/2 inch plywood
Find the direction to which the 2xs bend upwards at the center. For this task, place the materials (2xs) on each other and bank check if the crowns confront the same management. Go on a spacer at viii – x inches, place the other 2x at the summit and fasten with triple iii-inch screws.
As the crown faces upwardly, position the header on the jack studs. For added security, hit information technology with a hammer. Now you can install the header with 3-inch screws or 16d nails.
Step 7: Build the Window sill
Here you should not worry about how to frame a window sill. Instead, you will create a new one.
Start by cutting a maximum of ii pieces to length. Secure the ledge with a nail or spiral. If y'all employ two pieces, gear up ane piece on top of the cripple stud then embrace with the second slice.
Inspect the opening for a square. If the cavity width and tiptop exceeds the window by 1/2 inch, the opening should mensurate around i/4 inch out of the square. Complete the check by placing the window in the crenel and looking advisedly for the square.
Does the opening fit correctly? If it does, take a drill with an extended ane/2 inch spade bit and create locator holes to the outside at every edge.
Step 8: Brand the Required Cuttings
Some walls- including the ones that contain plaster – might not allow you to patch them with ease. If you have this result, you volition take to slip in the new window frame.
Cut the size of the completed wall that fits the opening. And so, take hold of a reciprocating saw and score through the upper and lower studs. Before sawing, retrieve to work with the widths of the sill and header.
Piece the studs until you accomplish halfway and pry them out. Since you want to brand room for the sill and header, gently clean out the open spaces.
Pace nine: Set in the Header and Sill
Push the header into the crenel and help information technology stand by inserting a jack stud on both ends.
Cheers to the header, the window tin can avert any harm acquired by the weight of the roof. Bring in the sill and connect the framing pieces with screws.
Step 10: Add together Finishing Touches

Now you lot accept reached the concluding stages of knowing how to frame a window. Move to the inner part of the window frame and identify a generous corporeality of exterior latex caulking. Adjacent, put the new window structure into space while ensuring that it fits. With a power drill that uses a screw flake, drive in the screws into the holes on the window framing.
Conclusion
Knowing how to frame a window volition assist y'all save costs since you won't have to call a professional person window installer. Framing a window makes your domicile feel comfy while preventing pelting from inbound the edifice.
With the guide above, you can carry out the DIY process on how to frame an existing window or a new one. Apart from showing you lot how to build a window frame and sill, this article offers the following advice.
- Setup the workspace and inspect the stud
- Install the stud and create some marks
- Make and install the header
- Gear up the header and the sill into the opening
- Screw-in all pieces with a drill
If you take any questions and comments, please feel free to share them in the space below.

How To Build A Window Frame And Sill,
Source: https://www.wcmanet.org/window-framing/
Posted by: emerydespassoling.blogspot.com
0 Response to "How To Build A Window Frame And Sill"
Post a Comment