How To Clean Technics Platter
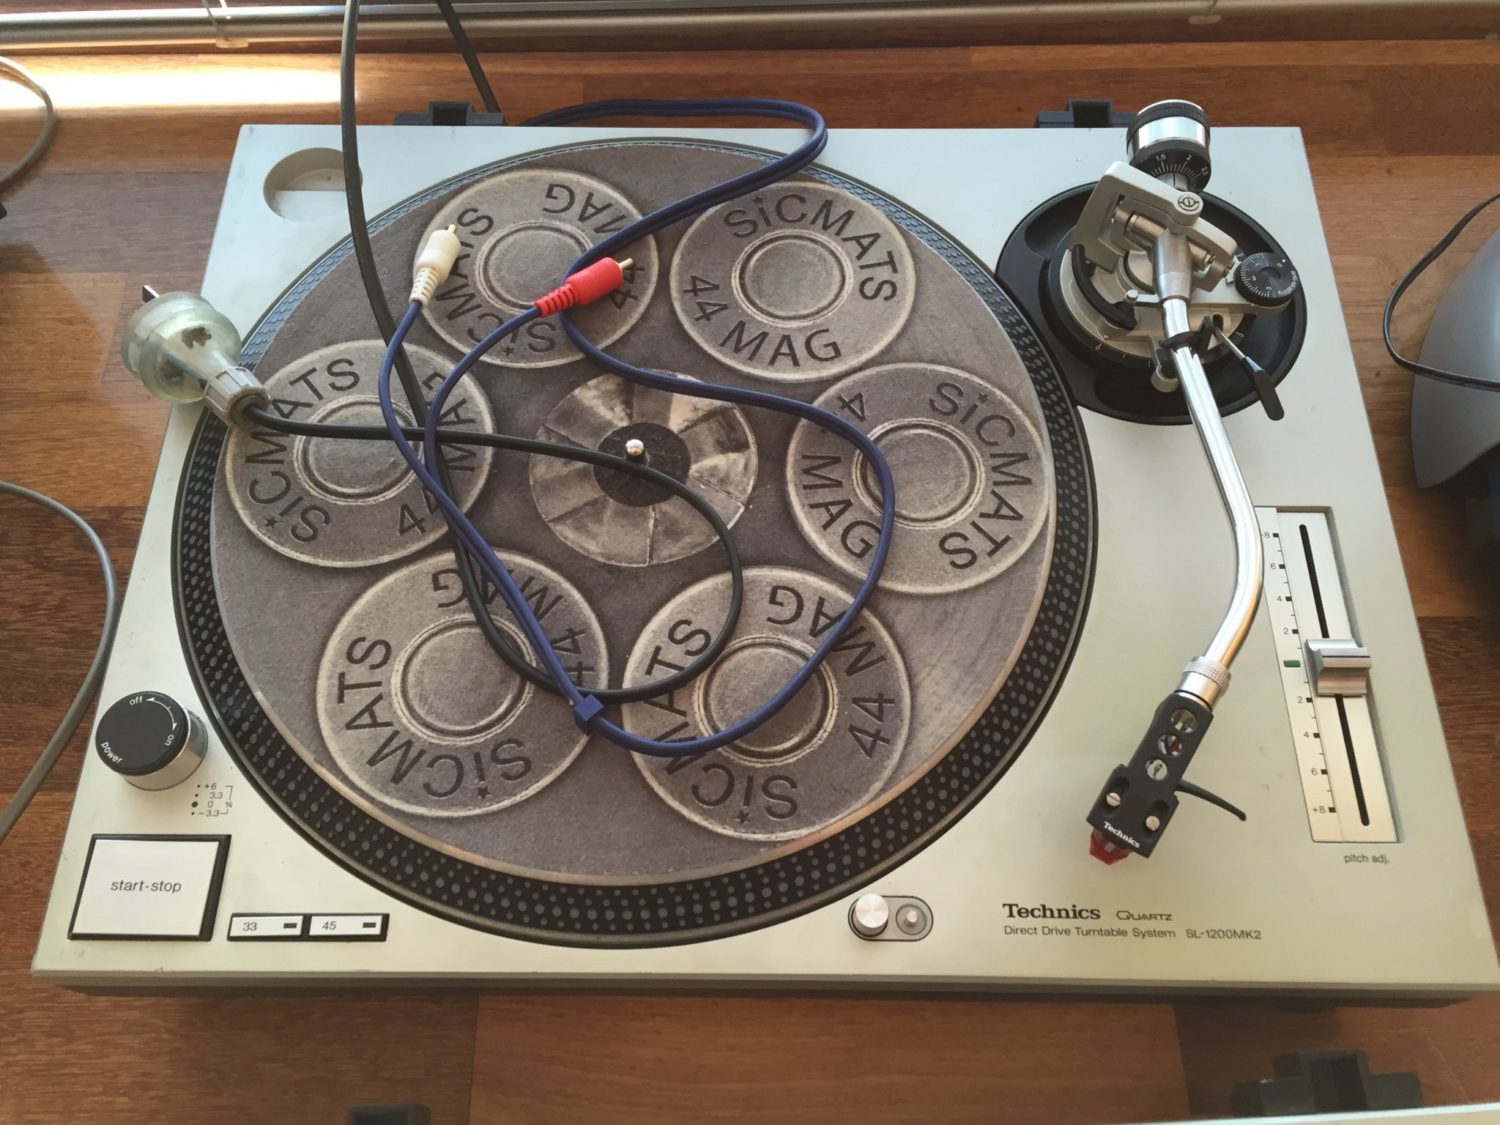
I've just finished servicing three Technics SL-1200 direct drive turntables. It seemed like the perfect opportunity to discuss the strengths and weaknesses of this legendary design and look at some basic cleaning and servicing techniques.
I've written a review of the Technics SL-1200 series which you should also take a look at.
The Technics SL-1200 hit the market in 1972 and there was nothing else like it when it was first released. It was so popular over the span of its production that over one million units were manufactured when production finally ended in 2010. With the resurgence in vinyl, thousands of people have actually petitioned Matsushita (Technics' parent company) to try to have the deck re-released to market.
UPDATE – They were successful! You can once again purchase these wonderful turntables.
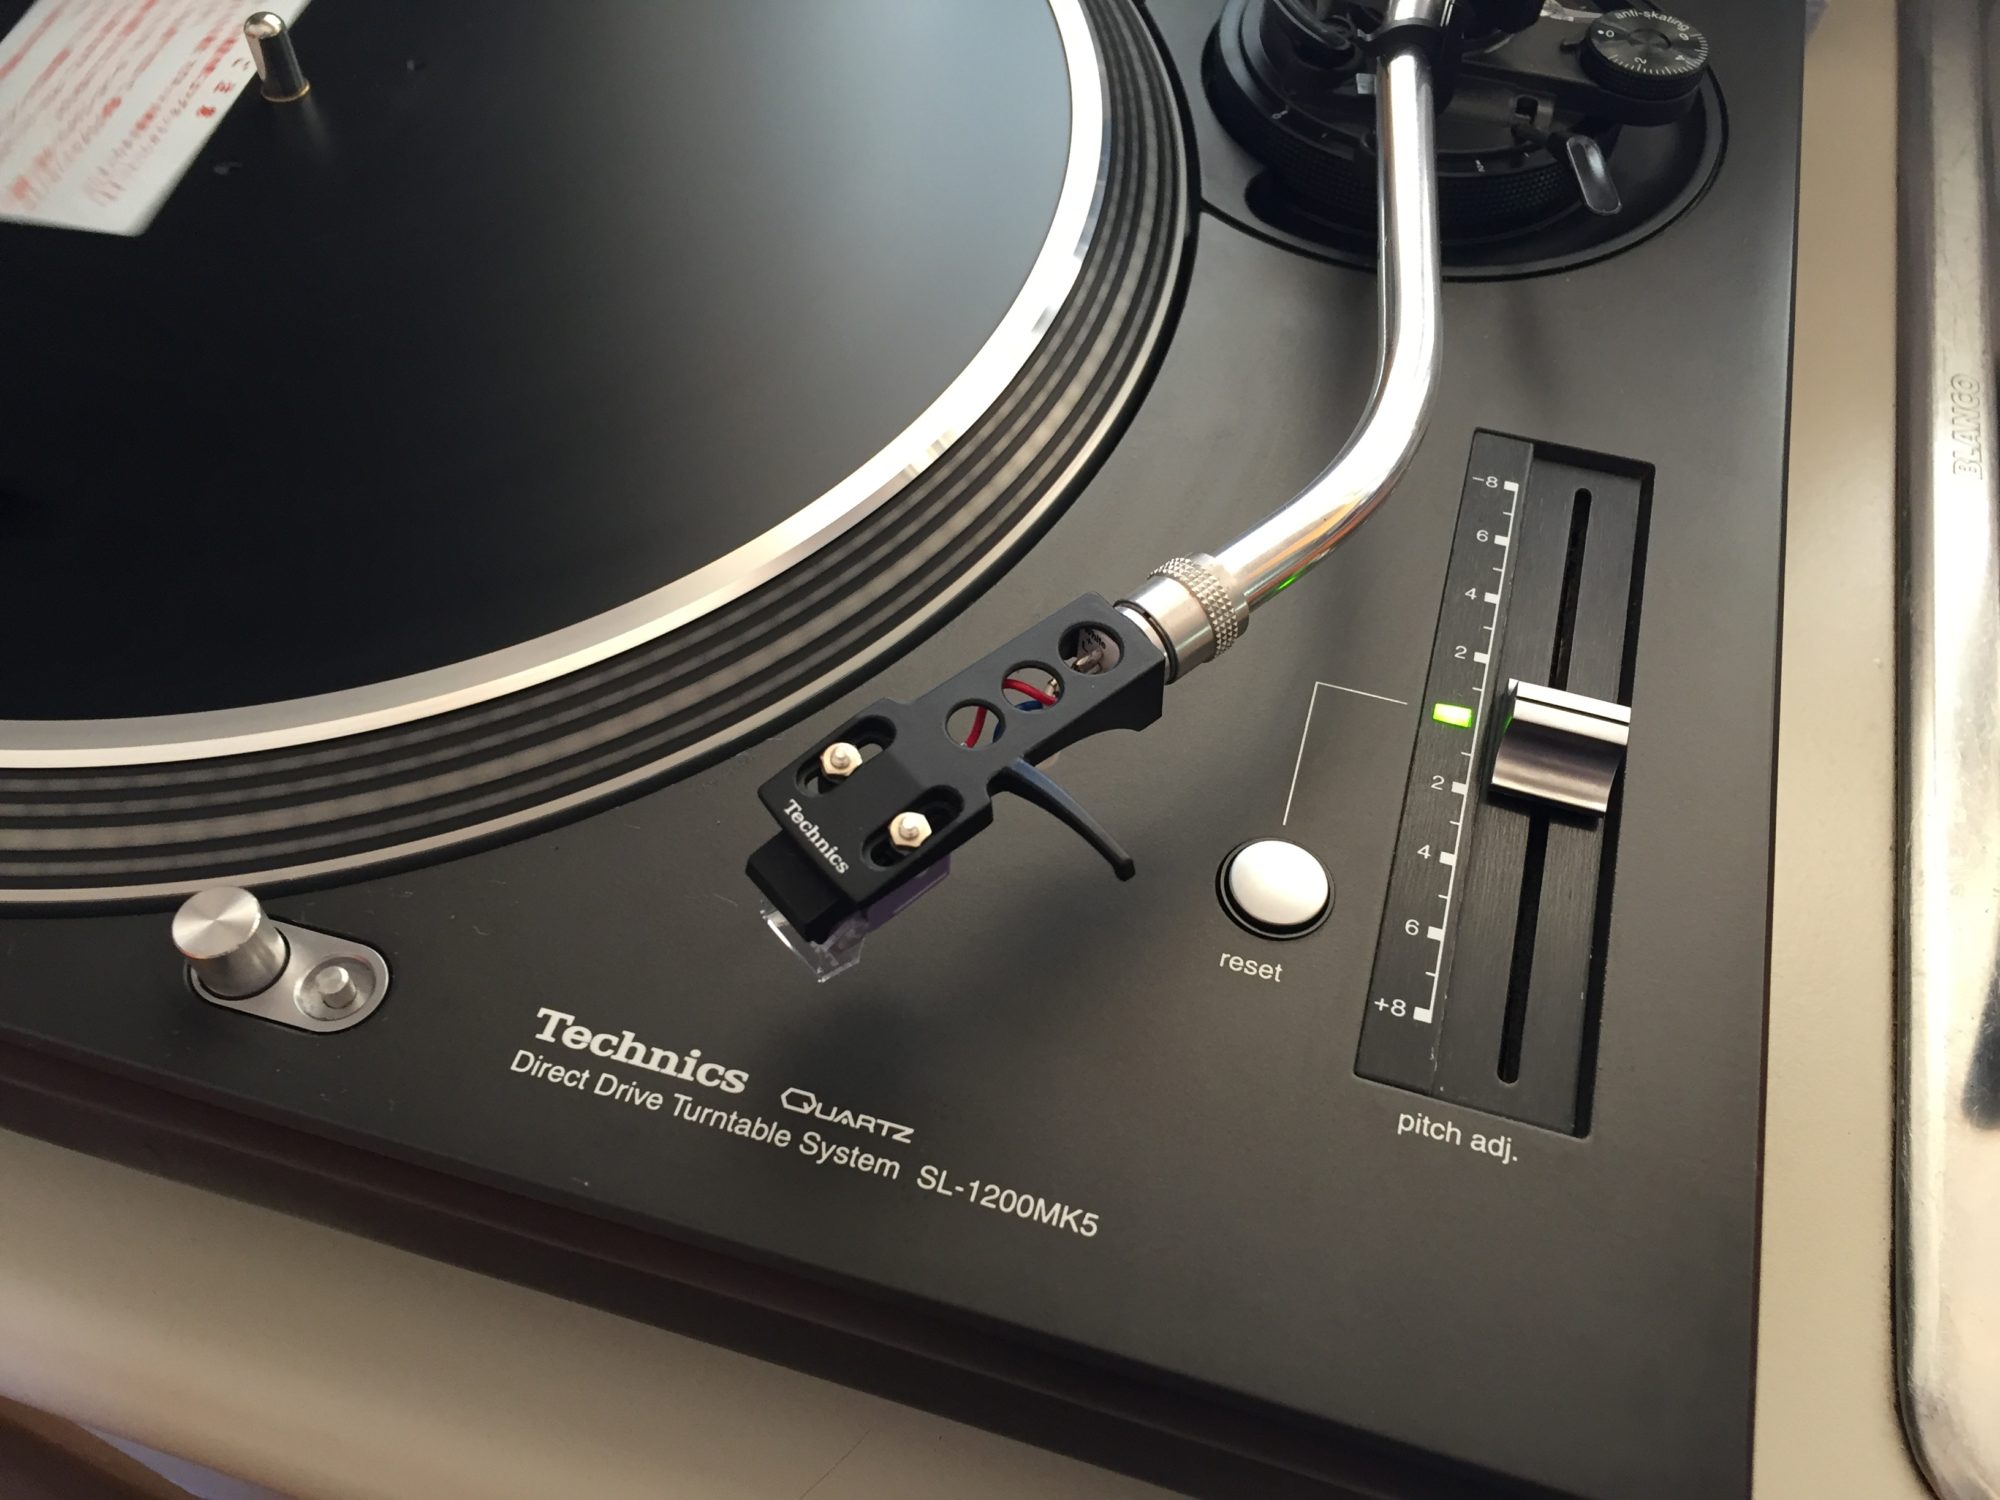
History
To briefly explain the nomenclature, the SL-1200 models are silver and the SL-1210 models are finished in gorgeous satin black. Various iterations were released over time. The mark 2 is very common but the deck went up to a mark 6 release, each successive mark having better tonearm wiring, fancy piano finishes and the like.
So what is, or was, so good about the Technics SL-1200? Easy, the SL-1200 was to wobbly belt-drive decks what a BMW is to a Lada. Yes, the Lada is simple and for some, that is the most important thing. But in performance, technology and engineering, the BMW walks away from it and so it was with the SL-1200 when it was released. Other manufacturers were scared and so they should have been.
You have to remember what the market looked like when the SL-1200 was released. Rumbly, wobbly suspended chassis belt drive decks were everywhere – Linn LP-12s, ARs, Sotas and so on. These decks were nice enough to look at but lacked the ultimate precision that only a Japanese manufacturer could build into the design. Critically, they also could never be used in the growing DJ market space, where a solid, non-wobbly deck that still had excellent environmental isolation was needed.
Servicing
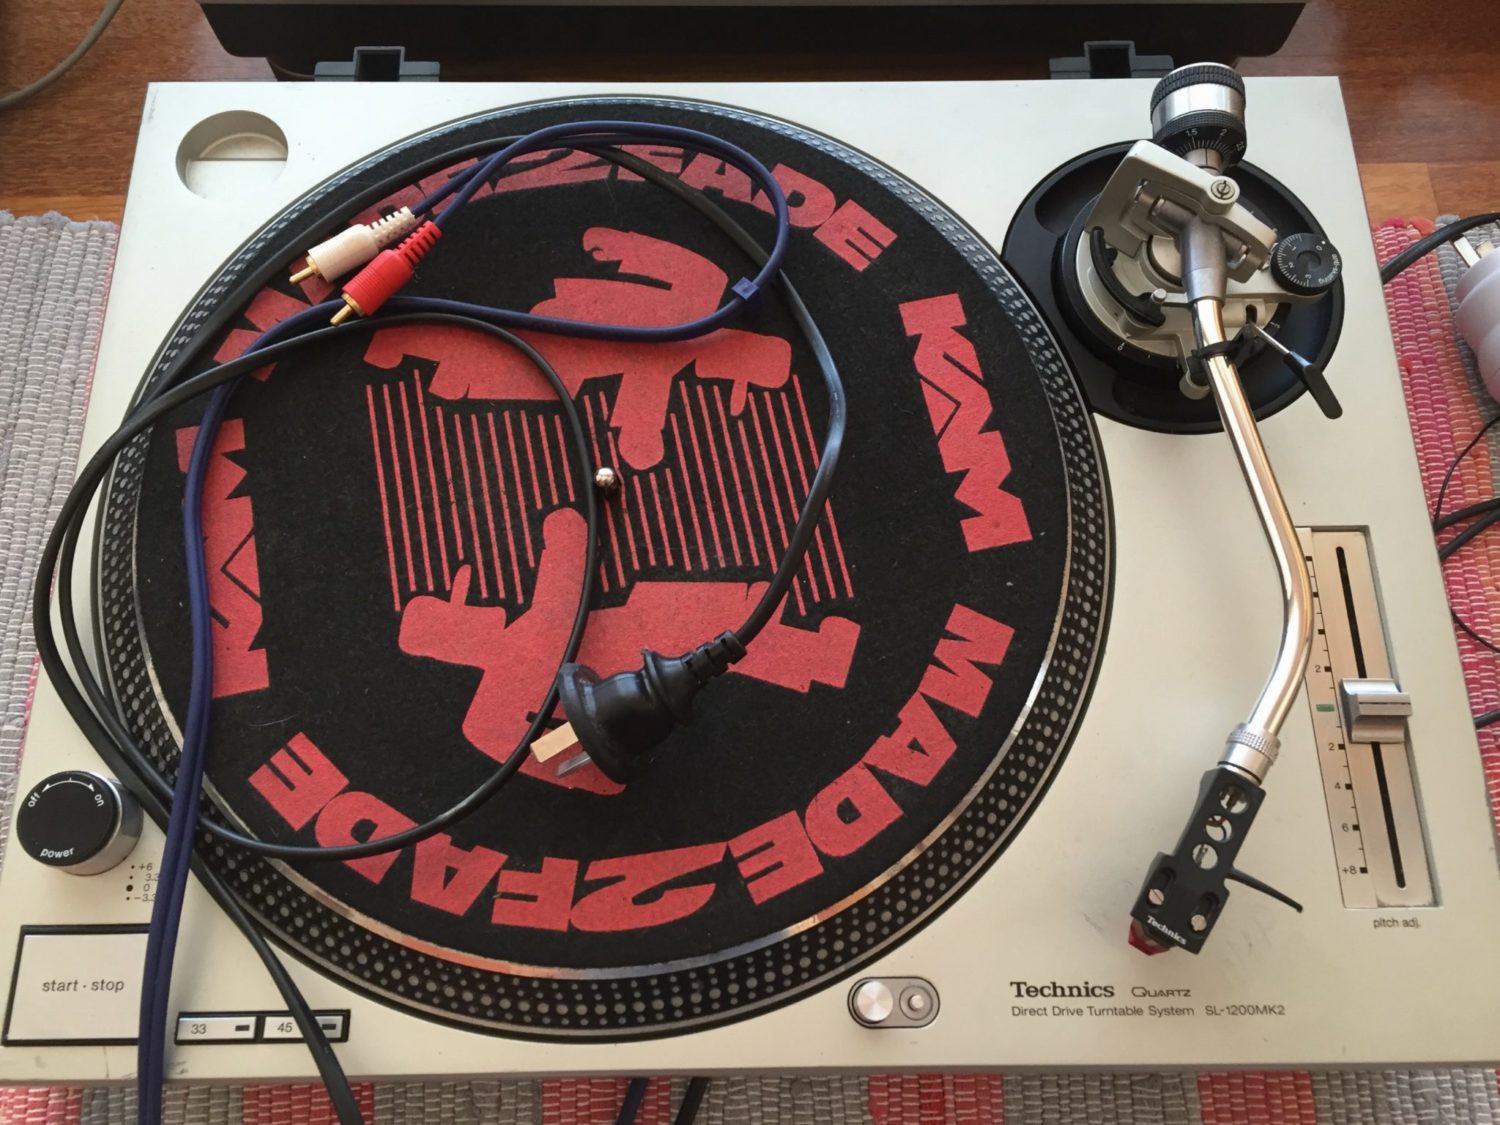
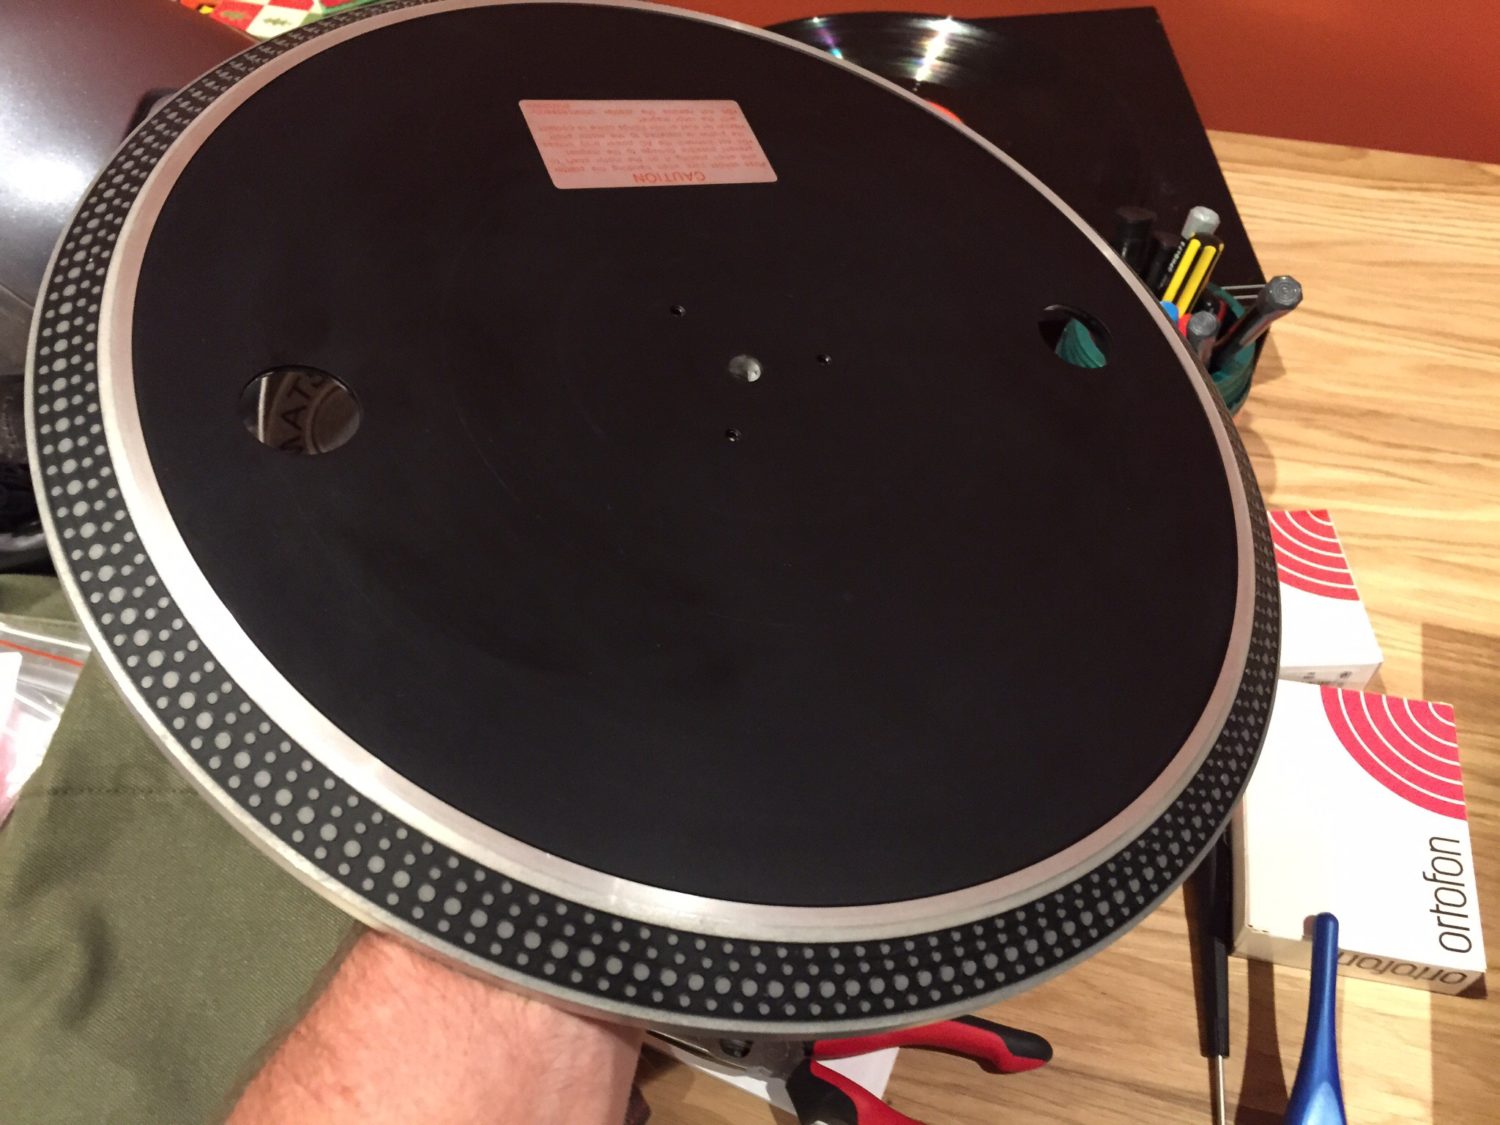
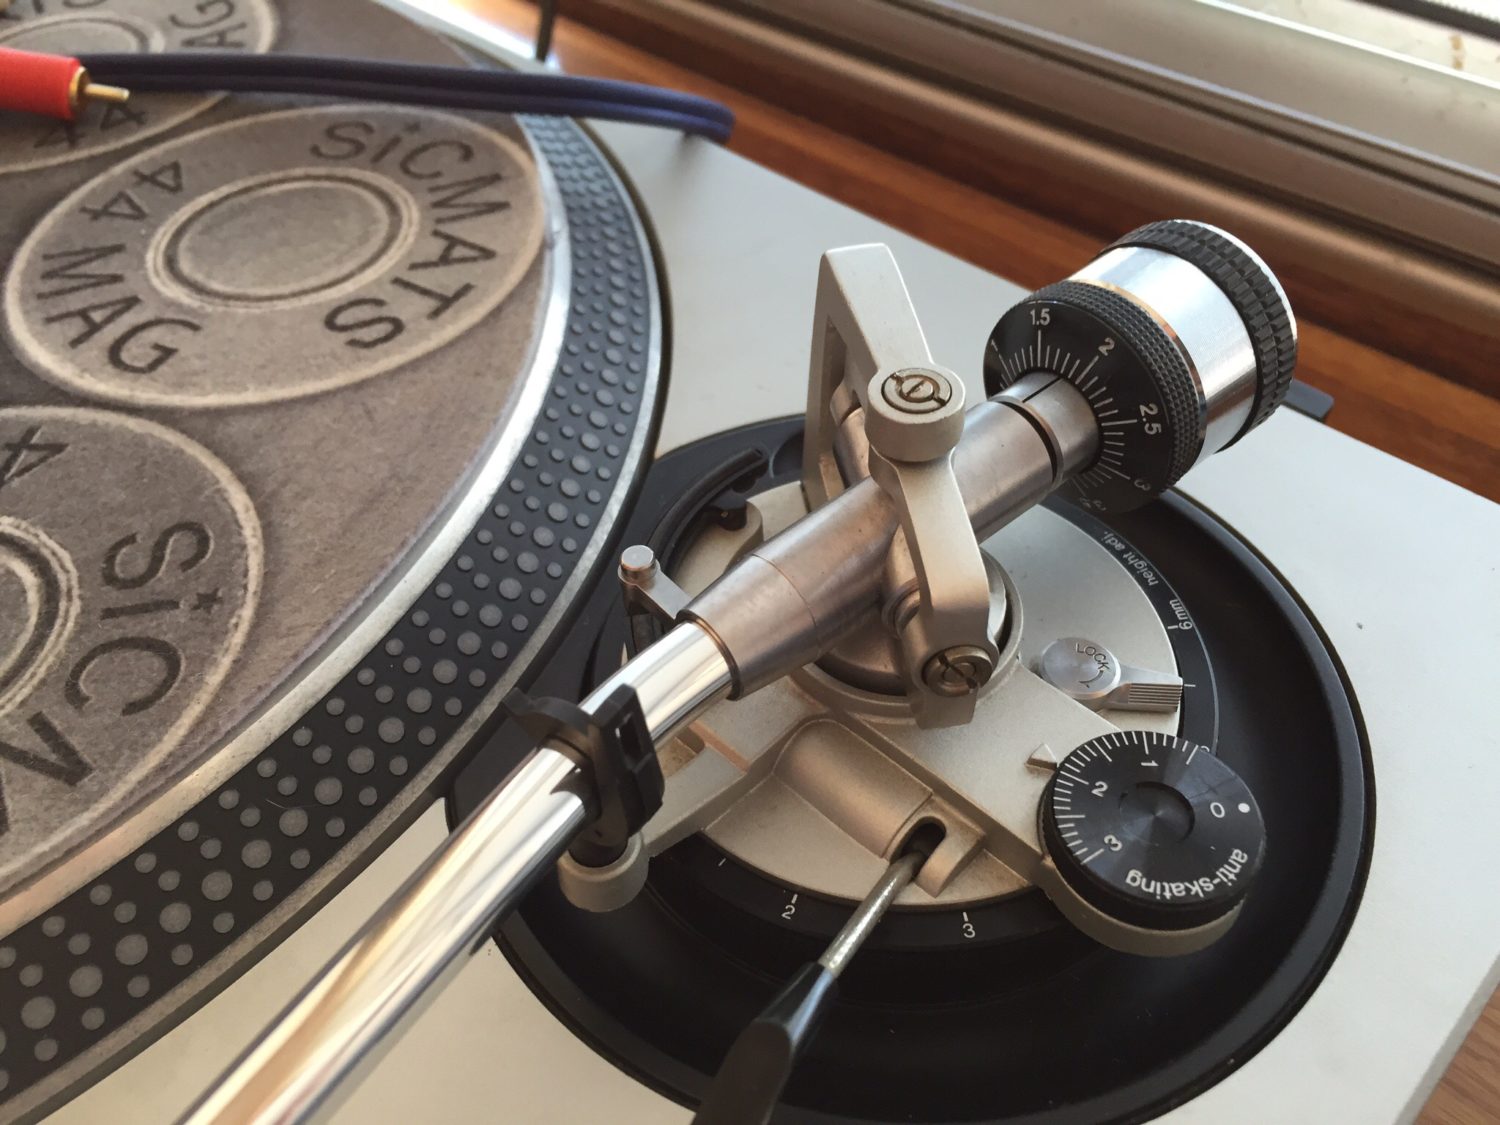
So let's have a look at several decks being serviced here in pictures. I have annotated each image to explain what is going on.
Cleaning
So what do I look out for when servicing these decks? I service a lot of them so I have certainly noted some trends. They are usually very dirty, so I clean dust the whole deck and arm assembly with a soft brush and then clean the platter and deck very thoroughly with a special foaming cleanser I use. This removes most of the grime that builds up over the years.


The Motor
The motor or spindle bearing certainly almost always needs lubrication. I find that I need to run decks for several hours whilst checking the bearing occasionally to see if the drop or two of oil I added initially has been drawn down into the bearing.
Most often, I need to add another drop or two and then leaving the deck playing for another couple of hours. You can tell then the oil has finally worked its way through when the spindle itself turns much more freely when spun between your fingers.
You need to look out for loose spindle bearings on these decks. Guys lean on the platter, stack things on them, drop them, throw them in the back of car boots and so on. Any wobble or free-play in this bearing will require a replacement. Lids are often broken or missing completely. Again, they can be replaced.


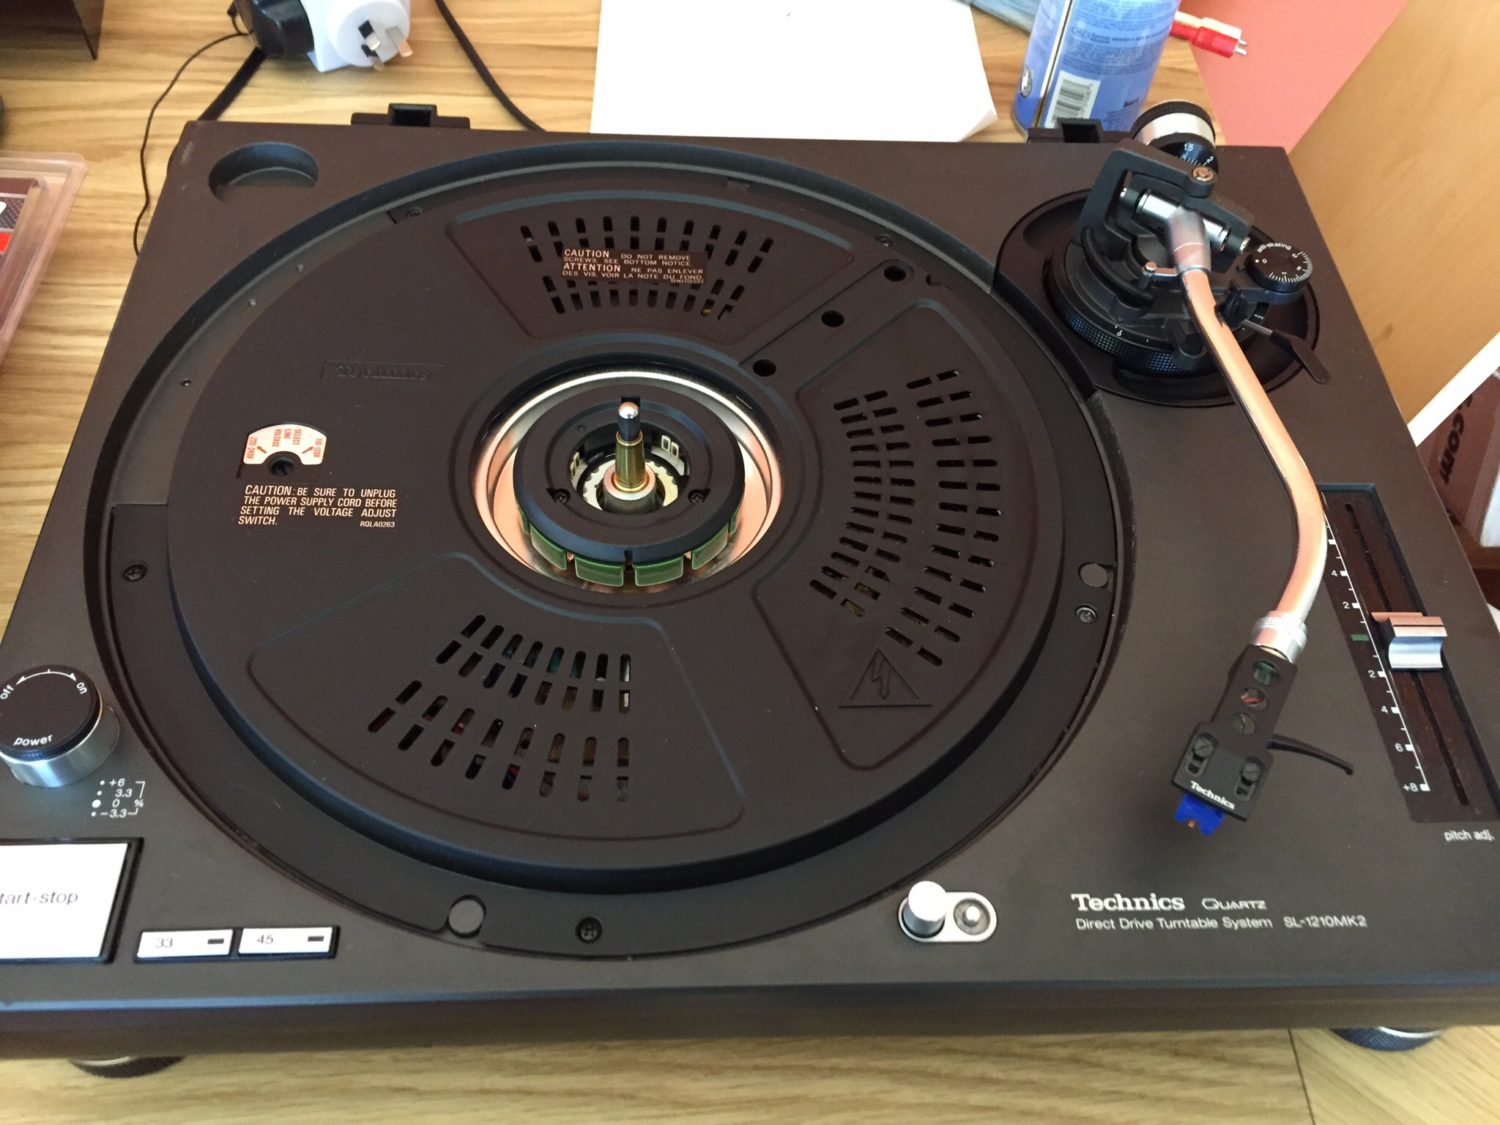
Deck Number two…


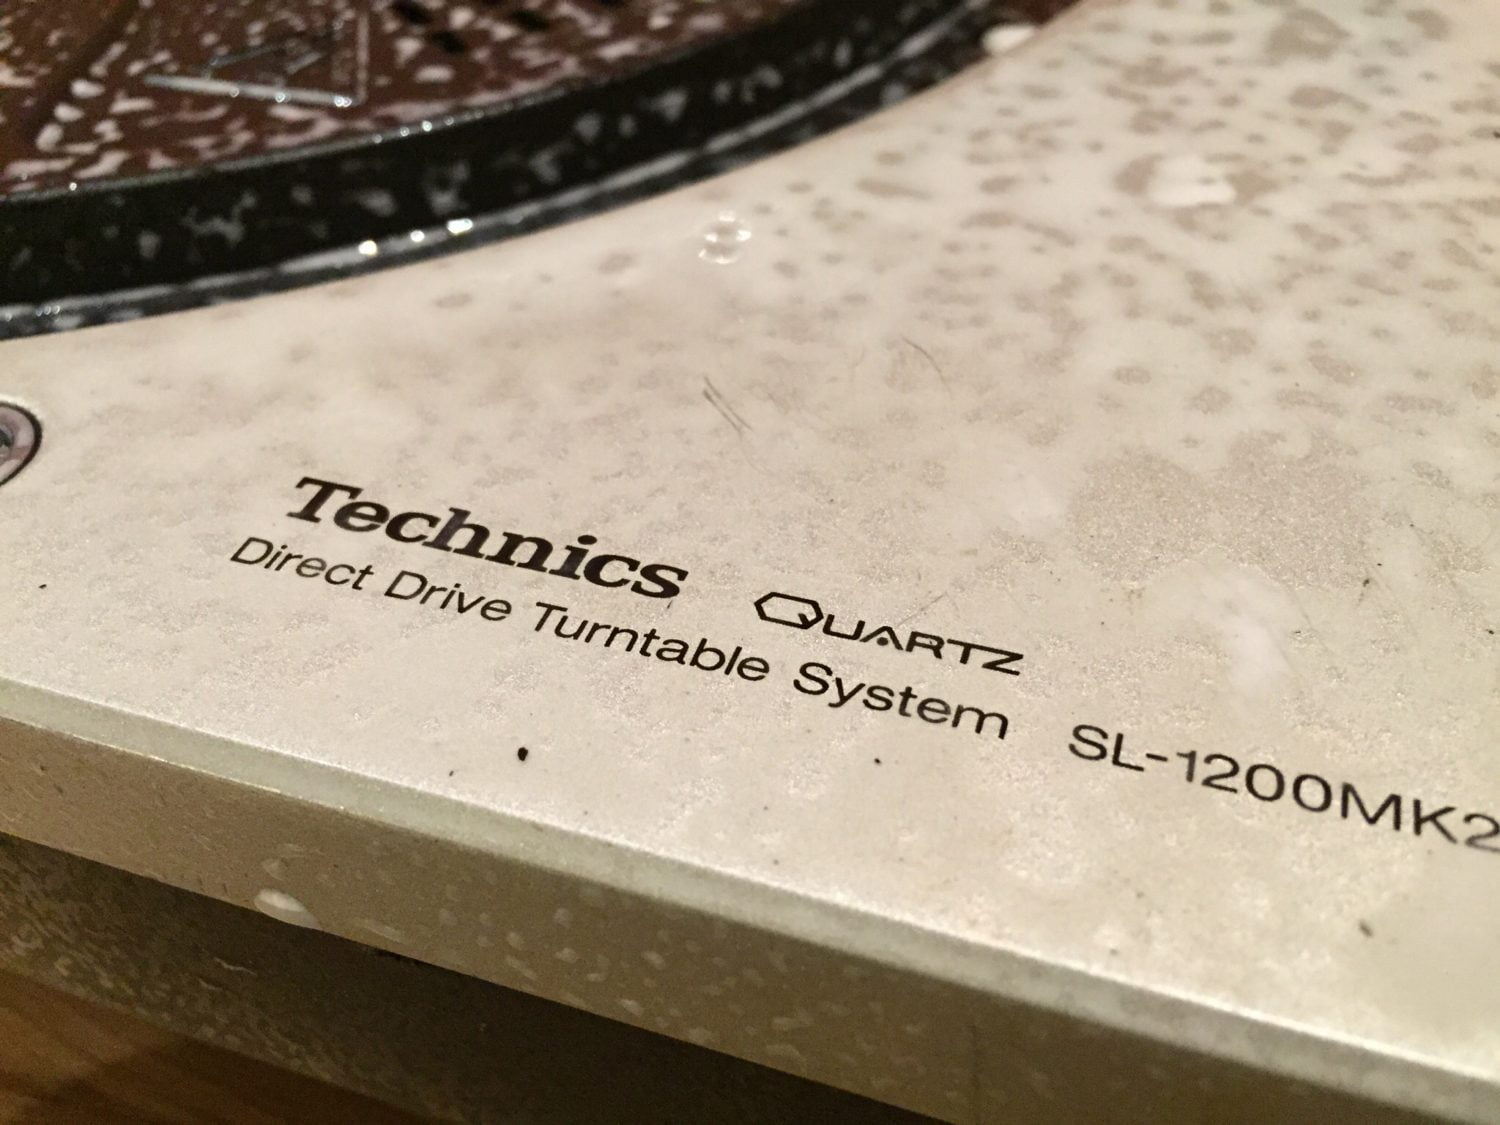

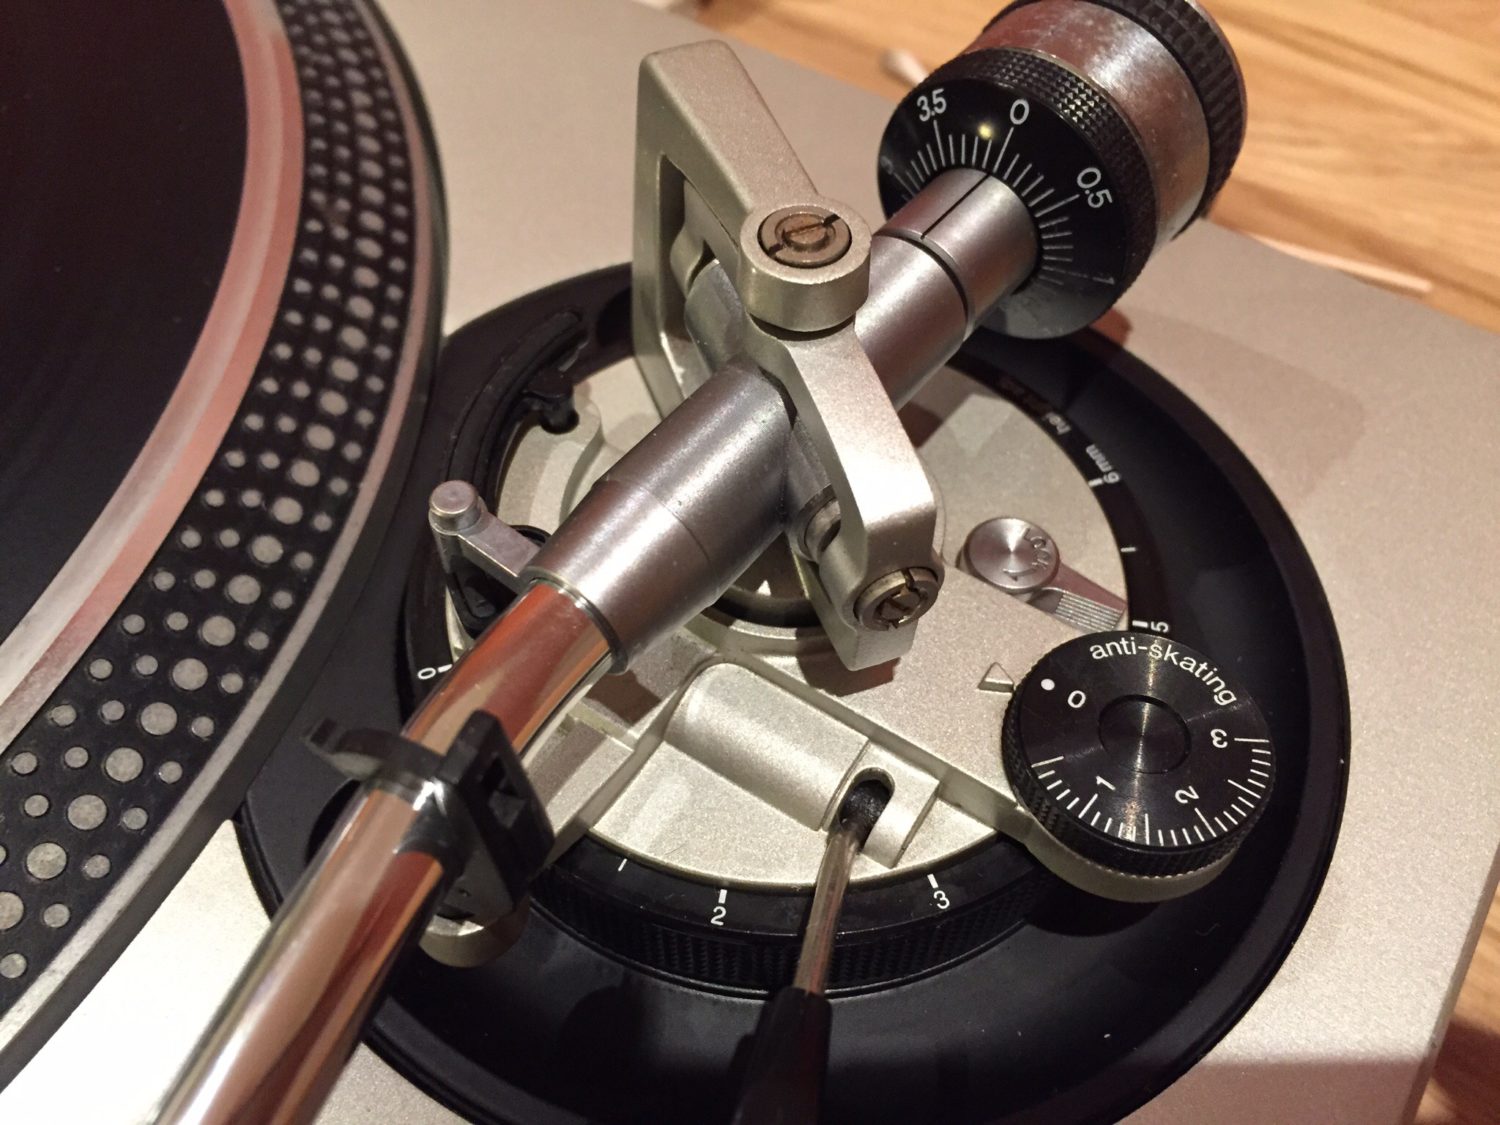


Deck Number Three!





Improvements
With all the servicing done, I often fit a new cartridge. This is because SL-1200s often come with cheap Stanton DJ-style carts that are just awful. I like to fit at least an Ortofon 2M Red, and then my customers can upgrade the stylus assembly as they need to, at a later time.
The 2M range is wonderful in that the body of the cartridge is common to all, but the critical stylus assembly is upgradable from Red, to Blue, through to Bronze and Black. Each time you get a better gem on the end of the cantilever, able to dig more detail out of the groove due to a finer profile and lower moving mass.
Finally, look out for all sorts of dodgy 'added features' that people with no idea about turntables or electronics seem to love to add to these decks, usually causing problems in the process. Things like added LEDs, ridiculous platter lighting etc all spell trouble. You want a nice original deck that hopefully has been well cared for if you are in the market for a Technics SL-1200.

-31.8575696 115.7910514
How To Clean Technics Platter
Source: https://liquidaudio.com.au/servicing-the-legendary-technics-sl-1200/
Posted by: emerydespassoling.blogspot.com

0 Response to "How To Clean Technics Platter"
Post a Comment