

How To Clean N64 Cartridge Slot
Jennifer Wilber holds a B.A. in English and an Associate's in Computer Game and Simulation Design. She is a life-long gamer.
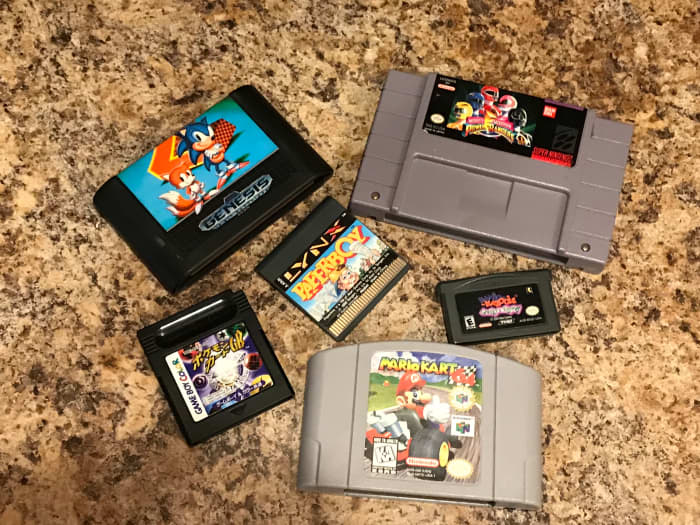
How to Clean an Old Video Game Cart.
Jennifer Wilber
When Might You Need to Clean A Video Game Cart?
Classic gaming is becoming more popular than ever. Many gamers are dusting off their old systems and game cartridges, only to find that their favorite game carts will no longer play. If this happens to you, your first instinct is likely to blow into the cartridge in an attempt to get it working again. Not only is this method ineffective, but it may also damage your game. Instead, if removing and reinserting your game (without blowing into it) does not work, you may need to clean the cartridge's connectors. This works for both handheld games, like GameBoy and Atari Lynx, as well as console games, such as N64, SNES, NES, and Sega Genesis. It is a very easy and inexpensive process to get your old games working like new again.
What You Will Need
You only need a few things in order to clean your game cartridges, including:
- the game cartridge itself
- the console in which to test the cartridge
- rubbing alcohol
- a small dish to pour the rubbing alcohol into
- a cotton swab (Q-tip)
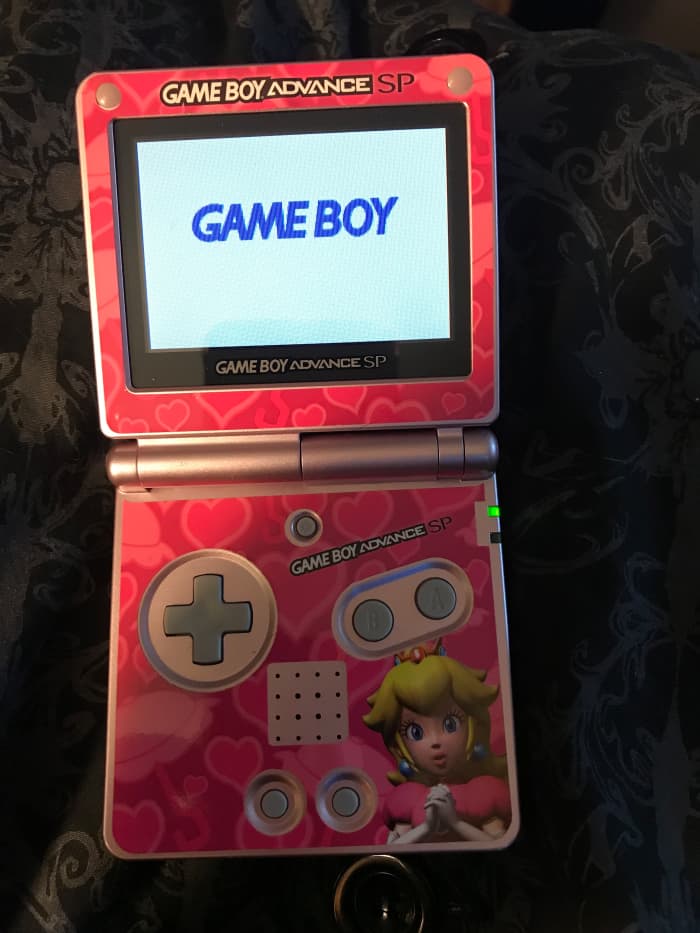
This GBA game gets stuck on the "Game Boy" screen, and won't load. It may need to be cleaned.
Jennifer Wilber
Step 1: Test and Examine the Cartridge
To determine if the cartridge in question really needs to be cleaned, first look at the connectors to see if they look dirty. If they are visibly dirty, don't put it in the console just yet. Instead, skip to step 2. If they don't look visibly dirty, insert it into the console and turn it on. If the game doesn't load properly, turn the system off and remove and reinsert the cartridge. If it still doesn't load after repeating this a couple of times, you still may need to clean the cartridge, even if it doesn't appear dirty to the naked eye. You may also wish to try another game to make sure that the problem is, in fact, with the game cartridge and not with your system if you haven't used the system recently.
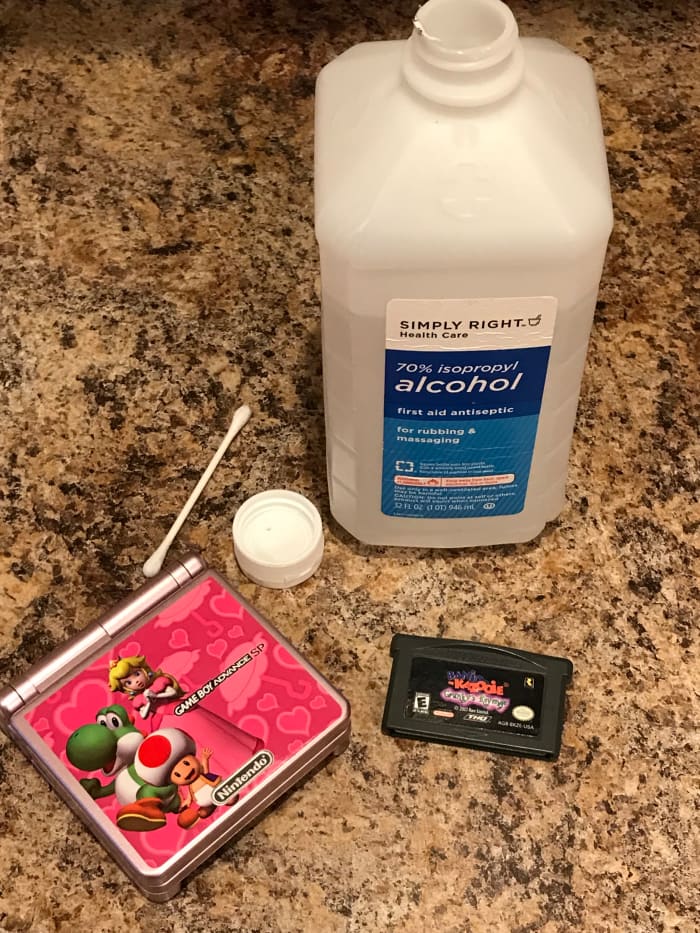
In addition to the game and system, you will also need a cotton swab, rubbing alcohol, and a small container to put the alcohol into.
Jennifer Wilber
Step 2: Gather Your Supplies
If you have determined that your cartridge needs to be cleaned, gather the supplies needed to clean it. This includes a bottle of rubbing alcohol, a small dish to pour the rubbing alcohol into (the cap from the bottle of rubbing alcohol is fine for this purpose), and a cotton swab. Pour a small amount of the rubbing alcohol into the cap or other container.
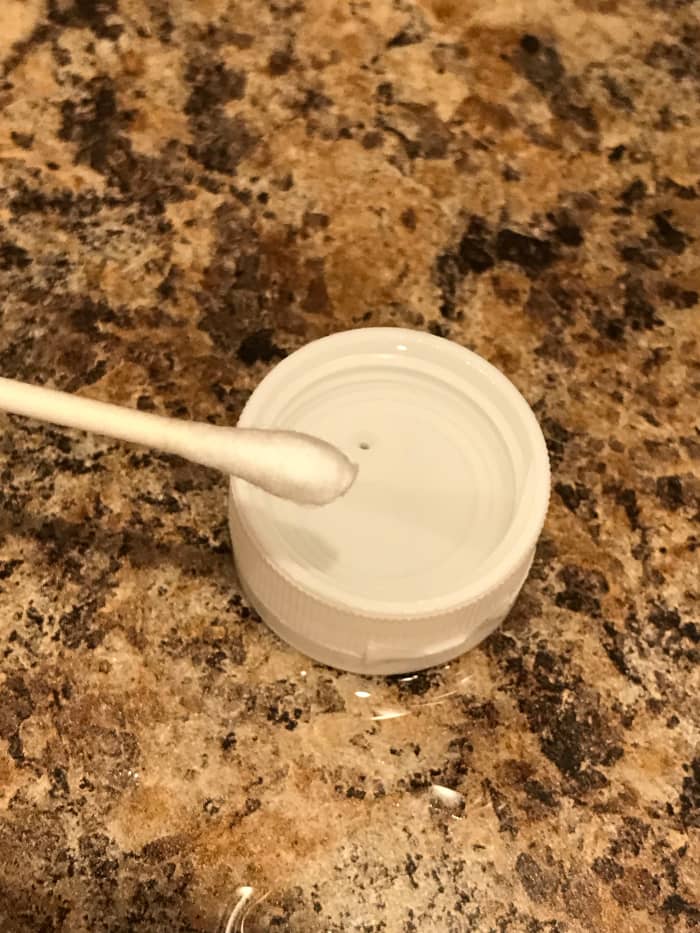
Wet the cotton swab with rubbing alcohol, but don't over-do it.
Jennifer Wilber
Step 3: Apply Rubbing Alcohol to the Cotton Swab
Next, you will want to gently dip the end of the cotton swab into the rubbing alcohol. A small amount is fine. Be sure that the cotton swab is not dripping. If there is rubbing alcohol dripping from the cotton swab, throw the cotton swab out and try again with a fresh one.
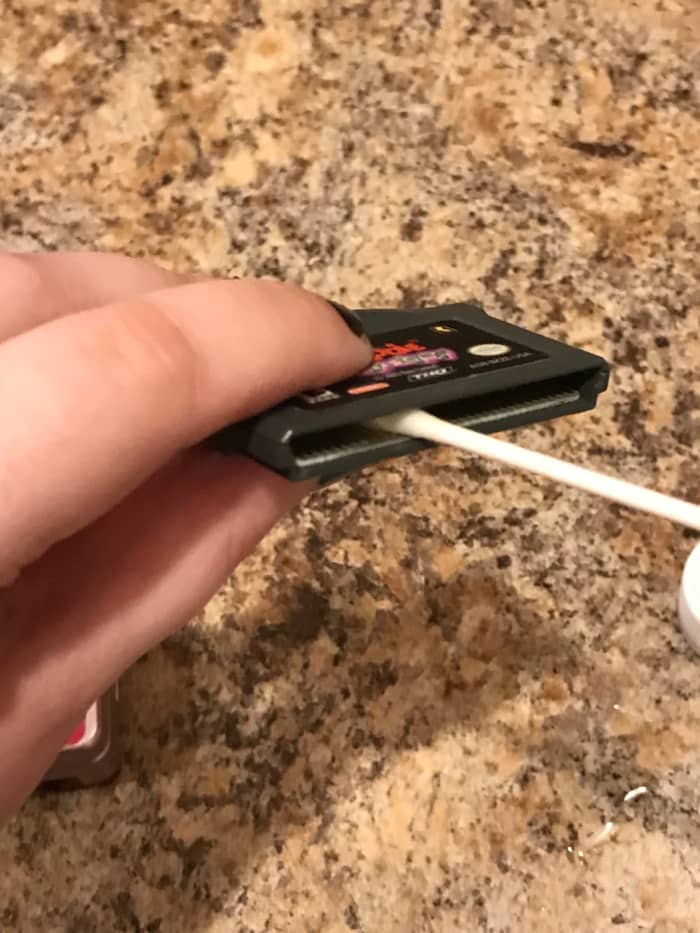
Gently rub the cotton swab against the game's connectors in an up and down motion (never go side to side).
Jennifer Wilber
Step 4: Gently Rub the Cotton Swap Along the Cartridge's Connectors
Now that there is rubbing alcohol on the cotton swab, you are ready to begin cleaning the game cartridge. Rub the cotton swab gently against the game cartridge's connectors in an up and down motion. Do not rub it from side to side. You may notice that the end of the cotton swap starts to turn black as it removes dirt and grime from the connectors. Repeat this process with new cotton swabs until they come away clean.
For games with connection points on both sides, such as N64 cartridges, repeat this process on both sides of the connector. It is important to make sure that the entire connector is free of dirt and debris.
Read More From Levelskip
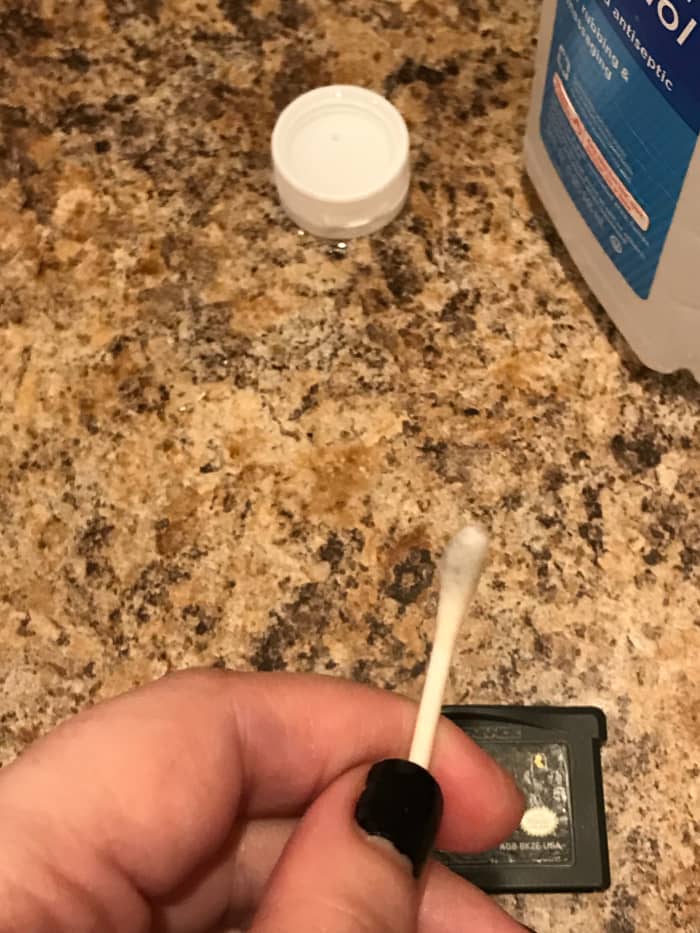
You will likely notice some black debris on the cotton swab. This one wasn't too bad.
Jennifer Wilber
Step 5: Allow the Cartridge to Dry
Set the cartridge aside to allow it to dry before trying it in the console again. It should only take about 5-10 minutes to become fully dry. You may also want to use a dry cotton swab to make sure that the connector is dry. Gently rub the dry cotton swab against the connectors, just like you did with the one containing rubbing alcohol.
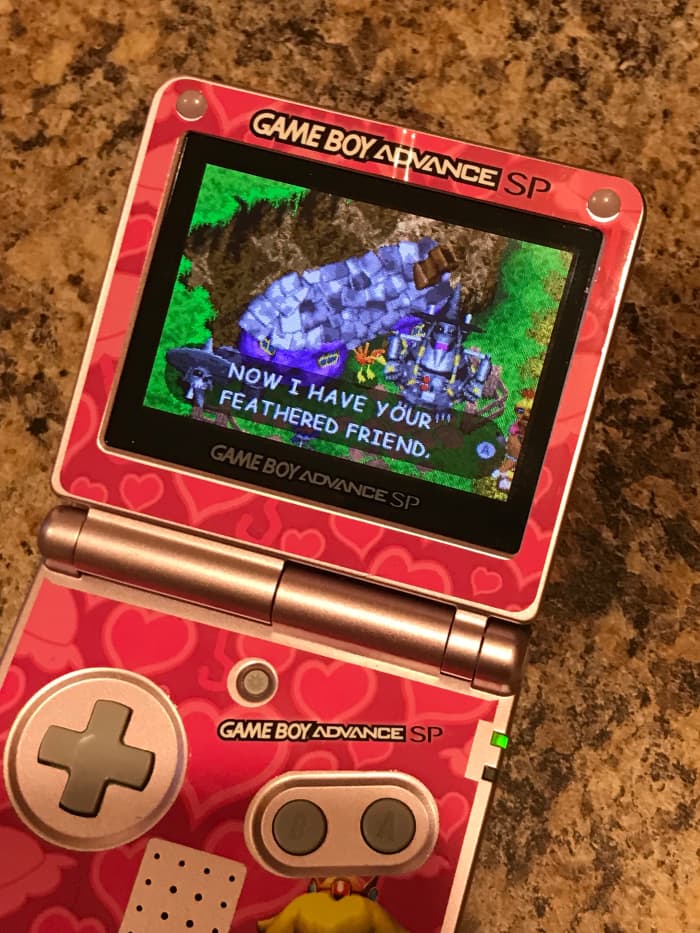
Success! This game now runs just like new!
Jennifer Wilber
Step 6: Test the Game
Once the rubbing alcohol on the connectors has dried, you are now ready to test the game in the console. Insert the cartridge and turn on the system. The game should now load. If it doesn't load the first time, you may have to jiggle the cartridge in the slot, remove it and reinsert it, or attempt to clean it a second time.
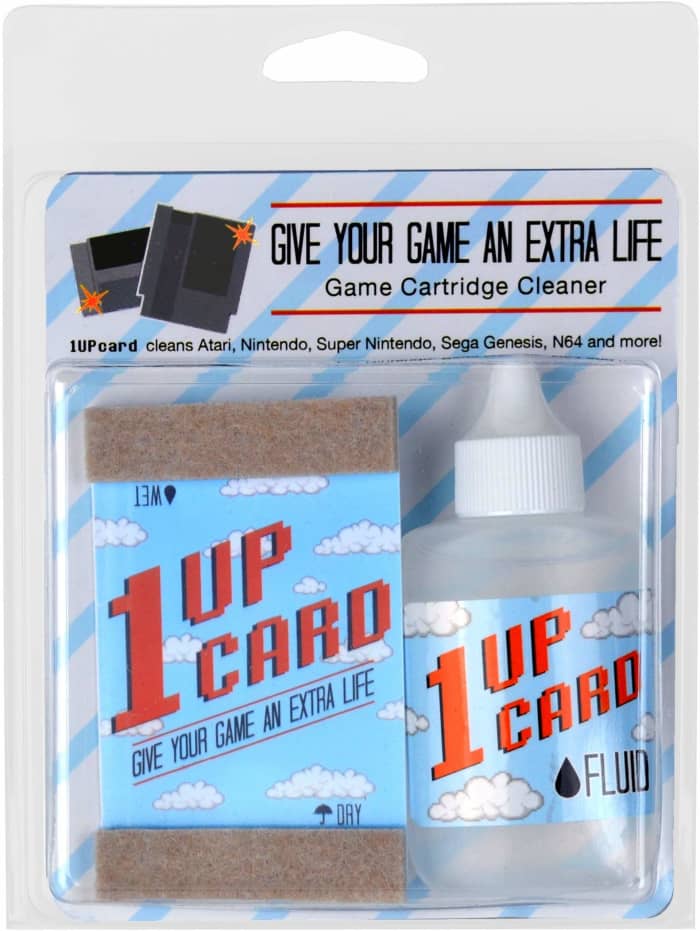
If this cleaning method doesn't work, you may need to try a cartridge cleaning kit, such as the Universal 1 Up Retro Video Game Cartridge Cleaning Kit.
Katamaco
What to Do if the Game Still Does Not Work
If the game still does not load, you may need to use a video game cartridge cleaning kit or repair kit for deeper cleaning. These kits are inexpensive and may work to clean cartridges for which a regular cotton swab didn't work.
If the cleaning or repair kit does not do the job, the game may have irreversible internal damage. In this case, your only option, if you want to play this game, is to track down a replacement copy.
This method should work for almost any old game cartridge where you can access the connector.
Jennifer Wilber
Why You Should Never Blow into Game Cartridges
Though most people remember blowing into their game cartridges to get them working again, this is a bad practice. First of all, it doesn't actually work to get the game working. Second, it may actually cause more damage to the cartridge.
All N64 cartridges have a warning printed on them telling the player to never blow into the cartridge and for good reason. When you blow into a game cartridge, small amounts of moisture (i.e. spit) are propelled through the air and land directly onto the copper connectors. This can cause oxidation and water damage. You are putting your cartridges at risk of developing rust whenever you blow into them.
When gamers remove non-working cartridges from their console and blow into them before trying again, the real reason this seems to help is that they removed the game and put it back it. When the game is reinserted, its connectors have another chance to become properly aligned with the console. This is why removing, and reinserting game cartridges can cause a game to suddenly work again.
If simply removing and reinserting the game into the console doesn't work, it is important to properly clean the game's connectors to get the cartridge working again.
© 2018 Jennifer Wilber
Kevin Mann from Canada on August 25, 2019:
That brings back memories, I ran many a Q-tips on my games. Did you know blowing on the cartridge did nothing?
How To Clean N64 Cartridge Slot
Source: https://levelskip.com/classic/How-to-Clean-an-Old-Video-Game-Cartridge
Posted by: emerydespassoling.blogspot.com
0 Response to "How To Clean N64 Cartridge Slot"
Post a Comment